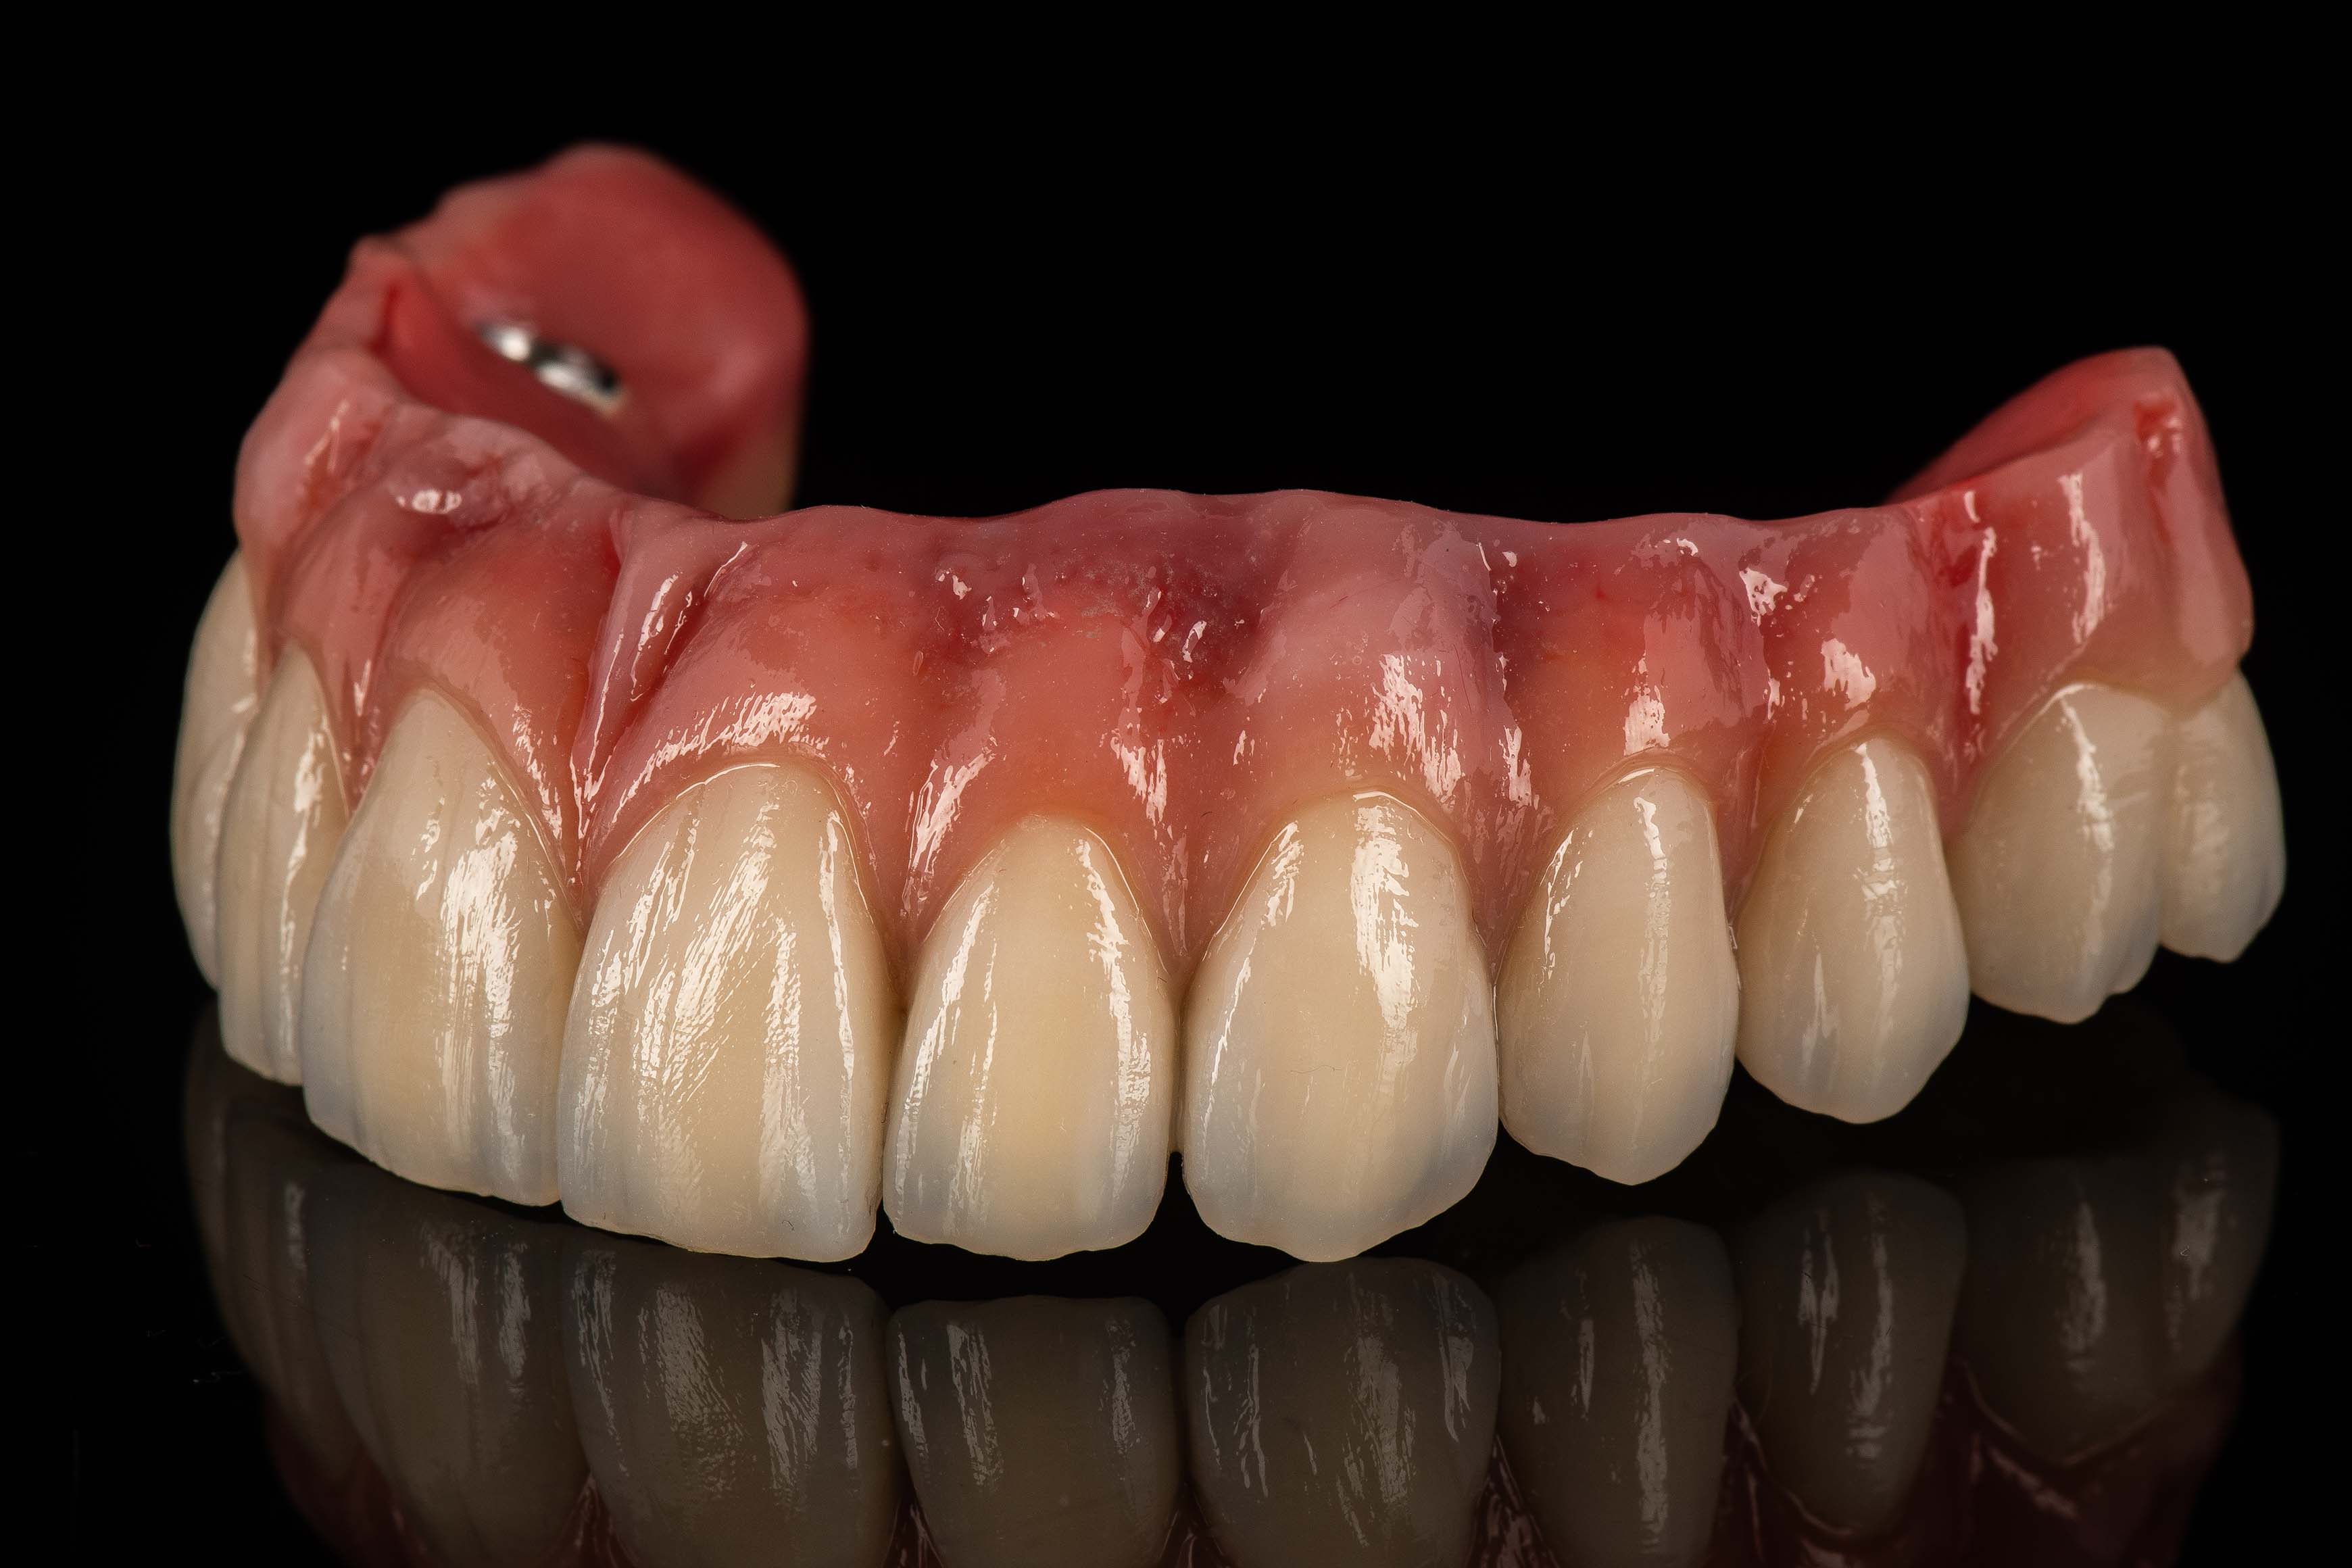

I want a combination of aesthetics, durability and guarantee. And with AURORA, I get all these.
INTRODUCTION
Today’s prosthetists are witnessing a major evolution in our sector, driven by the digital revolution. The latest ground-breaking innovations show us that digital techniques often surpass manual or analogue methods.
Some dental laboratories have been using CAD-CAM for at least a decade, but from the point of view of progress, it is the production centres and their R&D teams that can introduce really revolutionary innovations. AURORA and AVINENT are a clear example of this.

AURORA is the name given to the customised, 3D printed structures on titanium implants designed by AVINENT. This revolutionary system, developed by the company’s R&D and engineering team, creates a firm bond between the structure and the aesthetic coating, giving it excellent retention. This is because when working on a structure with either composite or acrylic, one of the aspects our clinicians insist on the most is the quality of the bond between the structure and the coating material. After extensive research, AVINENT recruited five dental laboratories to develop the AURORA structures, which provide the highly prized bond between the aesthetic coating and the structure; this, after all, accounts for 50% of the success of dental prosthetics.
So, how do AURORA structures achieve this excellent bond with the aesthetic coating? AURORA structures are printed in 3D using titanium, a material that is both sturdy and remarkably lightweight. Meshes can also be added to the structure to enhance the retention and adhesion of coating materials, such as composites, without changing the anatomy, adjustments or guarantee. AVINENT offers different finishes, depending on the type of work to be done. On the one hand, a completely meshed structure, which comes with connections and fully machined emergence profiles; and on the other, a meshed structure with a machined base, in which the base (the part that is in contact with the mucosa), the connections and the emergence profiles are machined.
Having introduced the AURORA structure, we will now report a clinical case involving a fully-meshed AURORA structure.
CASE REPORT
The patient was a young, edentulous man. After implant surgery and the established healing time, the patient had been given a temporary acrylic prosthesis. When the case was brought to my laboratory, the clinician stressed the importance of the aesthetics of the prosthesis and the quality of the work, as the patient was a young man with high expectations. /
PRELIMINARY TESTS
DESIGN AND 3D PRINTING OF THE STRUCTURE
FINAL AESTHETICS IN THE LABORATORY
1. PREPARATION OF STRUCTURE. Although the meshing guaranteed an optimal bond between the structure and the composite, in our laboratory we follow the protocol of blasting the structure with aluminium oxide and applying the corresponding adhesive for this type of metal and structure (Signum Metal Bond I and Metal Bond II, Kulzer, Germany).

 *The mesh typically used in the AURORA structure makes application of the adhesive a bit more difficult.
2. APPLICATION OF THE OPAQUER. I applied the first layers of opaquer. 
 *Comment: it is more difficult to apply and you have to practice applying it inside the openings, between the mesh joints, and the synthetics are not as fine as we are used to.
After applying the second layer of opaquer, we were able to work as if we were handling a conventional structure. The only precaution I took was not to completely fill the holes solely with opaquer in order to maintain the retention of the opaquer in the structure and to be able to fill them later with composite.
 *Comment: I had some doubts and encountered some difficulties. If the opaquer gave good cover, would the holes between the meshes create shadows?
3. LOADING THE COMPOSITE. Once the opaquer had been applied (both on the crowns and gums) I proceeded to load the composite. This is done in the same way as a conventional structure.
 *Comment: Once I had finished layering the white colour and loading the gingival colour, I wondered whether shadows would appear due to the mesh holes. However, there was no need for concern: the composite covered the holes perfectly without causing any shadows.
AESTHETIC FINISH

In terms of aesthetics, the final result of this treatment on implants with an AURORA structure with layered composite is no better or different than that achieved with other similar restorations, because after all, it all depends on the skill of the dental technician. What, then, are the advantages of AURORA structures? Let’s see:
ADVANTAGES FOR LABORATORIES
ADVANTAGES FOR CLINICS
CONCLUSIONS
In any kind of prosthetic restoration, the biocompatibility of materials is essential. Personally, I appreciate the lightness of titanium, but that is not my priority. In my work, I do not only look for dental aesthetics, although this is the patient’s priority, but I want the aesthetics to last both in the short and long term. I want a combination of aesthetics, durability and guarantee. And with AURORA, I get all these.